
Saliclick lip holder Instructions
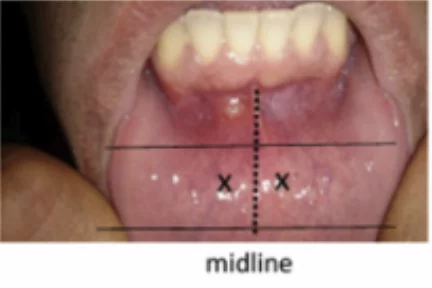
Preparation & Positioning
Initial setup and correct alignment of the Saliclick lip holder for the minor salivary gland biopsy procedure.
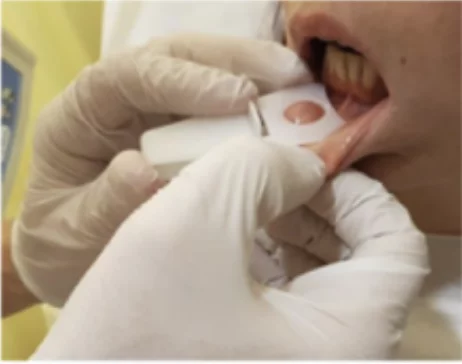
Gentle Tissue Engagement
Ensuring atraumatic and secure fixation of the mucosal tissue to isolate the target area efficiently.
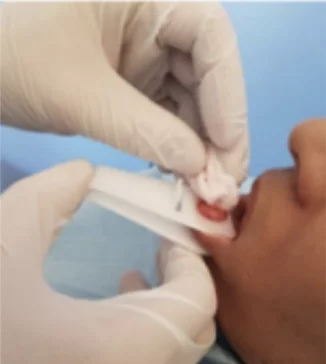
Standardized Stabilization
Maintaining a stable, reproducible position throughout the entire sampling process to guarantee accuracy.
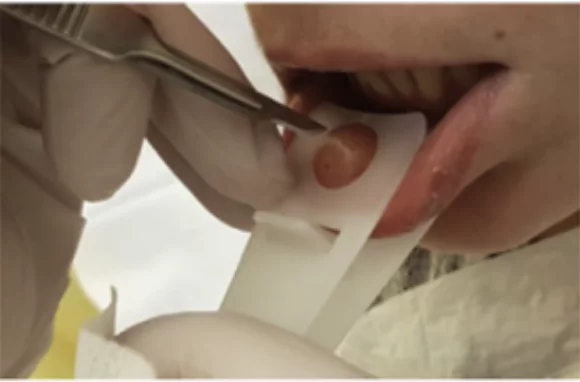
Precise Exposure
Clear visualization of the minor salivary glands, optimizing the workflow for routine clinical application.
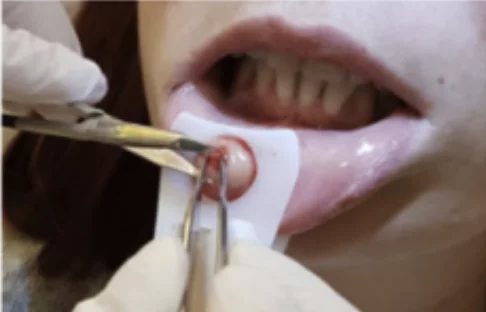
Sampling Execution
Streamlined access for precise tissue collection, significantly reducing overall procedure time.
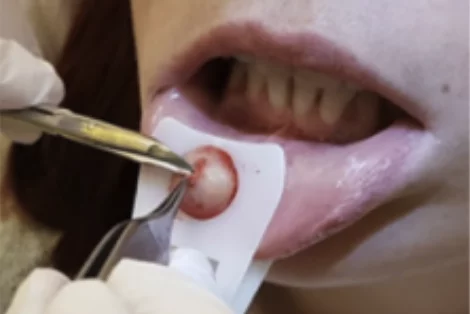
Inspection & Verification
Reviewing the obtained sample quality to ensure diagnostic reliability and consistency.
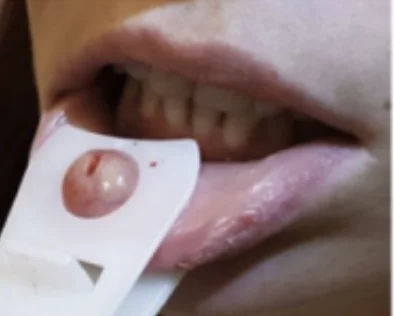
Atraumatic Release
Careful removal of the device with minimal patient discomfort and optimal tissue preservation.
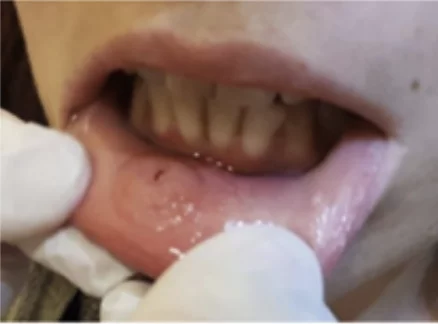
Post-Procedure Workflow
Finalizing the sampling workflow for fast and reliable diagnostic confidence in Sjögren’s disease diagnosis.